DIY: Delicate Thread Bracelets
 Here is a little DIY idea that is great for using up any leftover pieces of chain or thread you might have lying around. The bracelets are inspired by the jewellery line 'Orpelia' that I saw at Topshop last week. They had all these really simple necklaces and bracelets made out of only one strand of coloured thread with a little gold or silver pendant or double-layered with some fine chain. All pieces cost at least 20£... too much for me, especially for something so simple to re-create. This is really an ideal DIY candidate, because you can easily make them look as good as the real ones and for a lot less. I was only going to make one, but then I couldn't decide which colours to use, so I made two more :). I really like how they turned out, they are delicate and minimal, but especially when wearing a black or white outfit they add a little colour. I think they also look cool layered, maybe I'll make some more and wear like 10 of them together :). There are a couple of different ways to make the bracelets, which I'll show you below the tutorial.
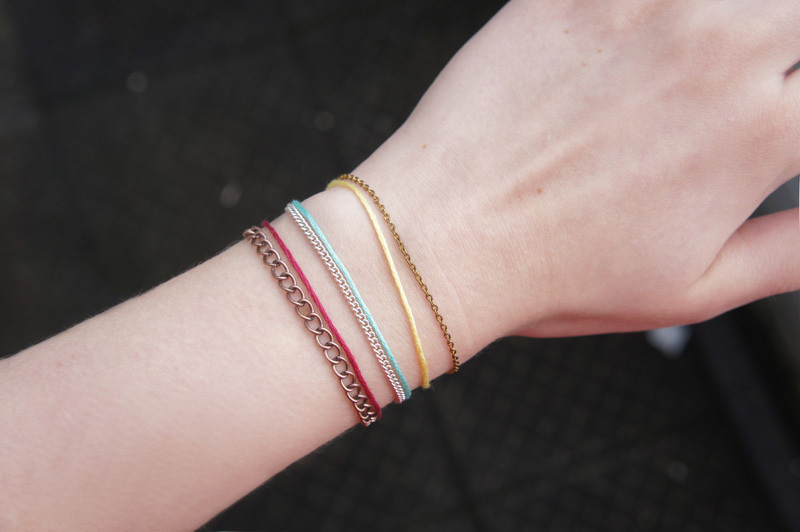
What you need: - a piece of fine metal chain - some coloured thread - two jump rings - either: a lobster clasp and a short piece of heavier chain, or: a toggle and clasp - optional: cord ends
Tutorial:


Alternatives: - use cord ends to hold the chain and thread together, instead of tying the thread to the jump rings - use a pretty toggle and clasp set instead of a lobster clasp
Click here for more jewellery DIYs.
