DIY: Friendship Bracelet Bikini Ties
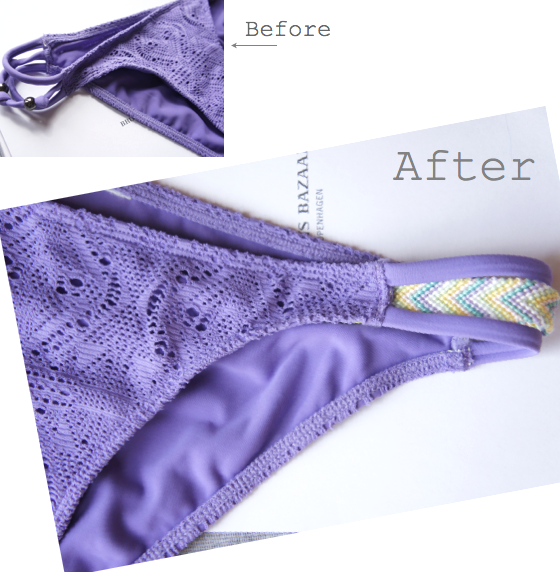
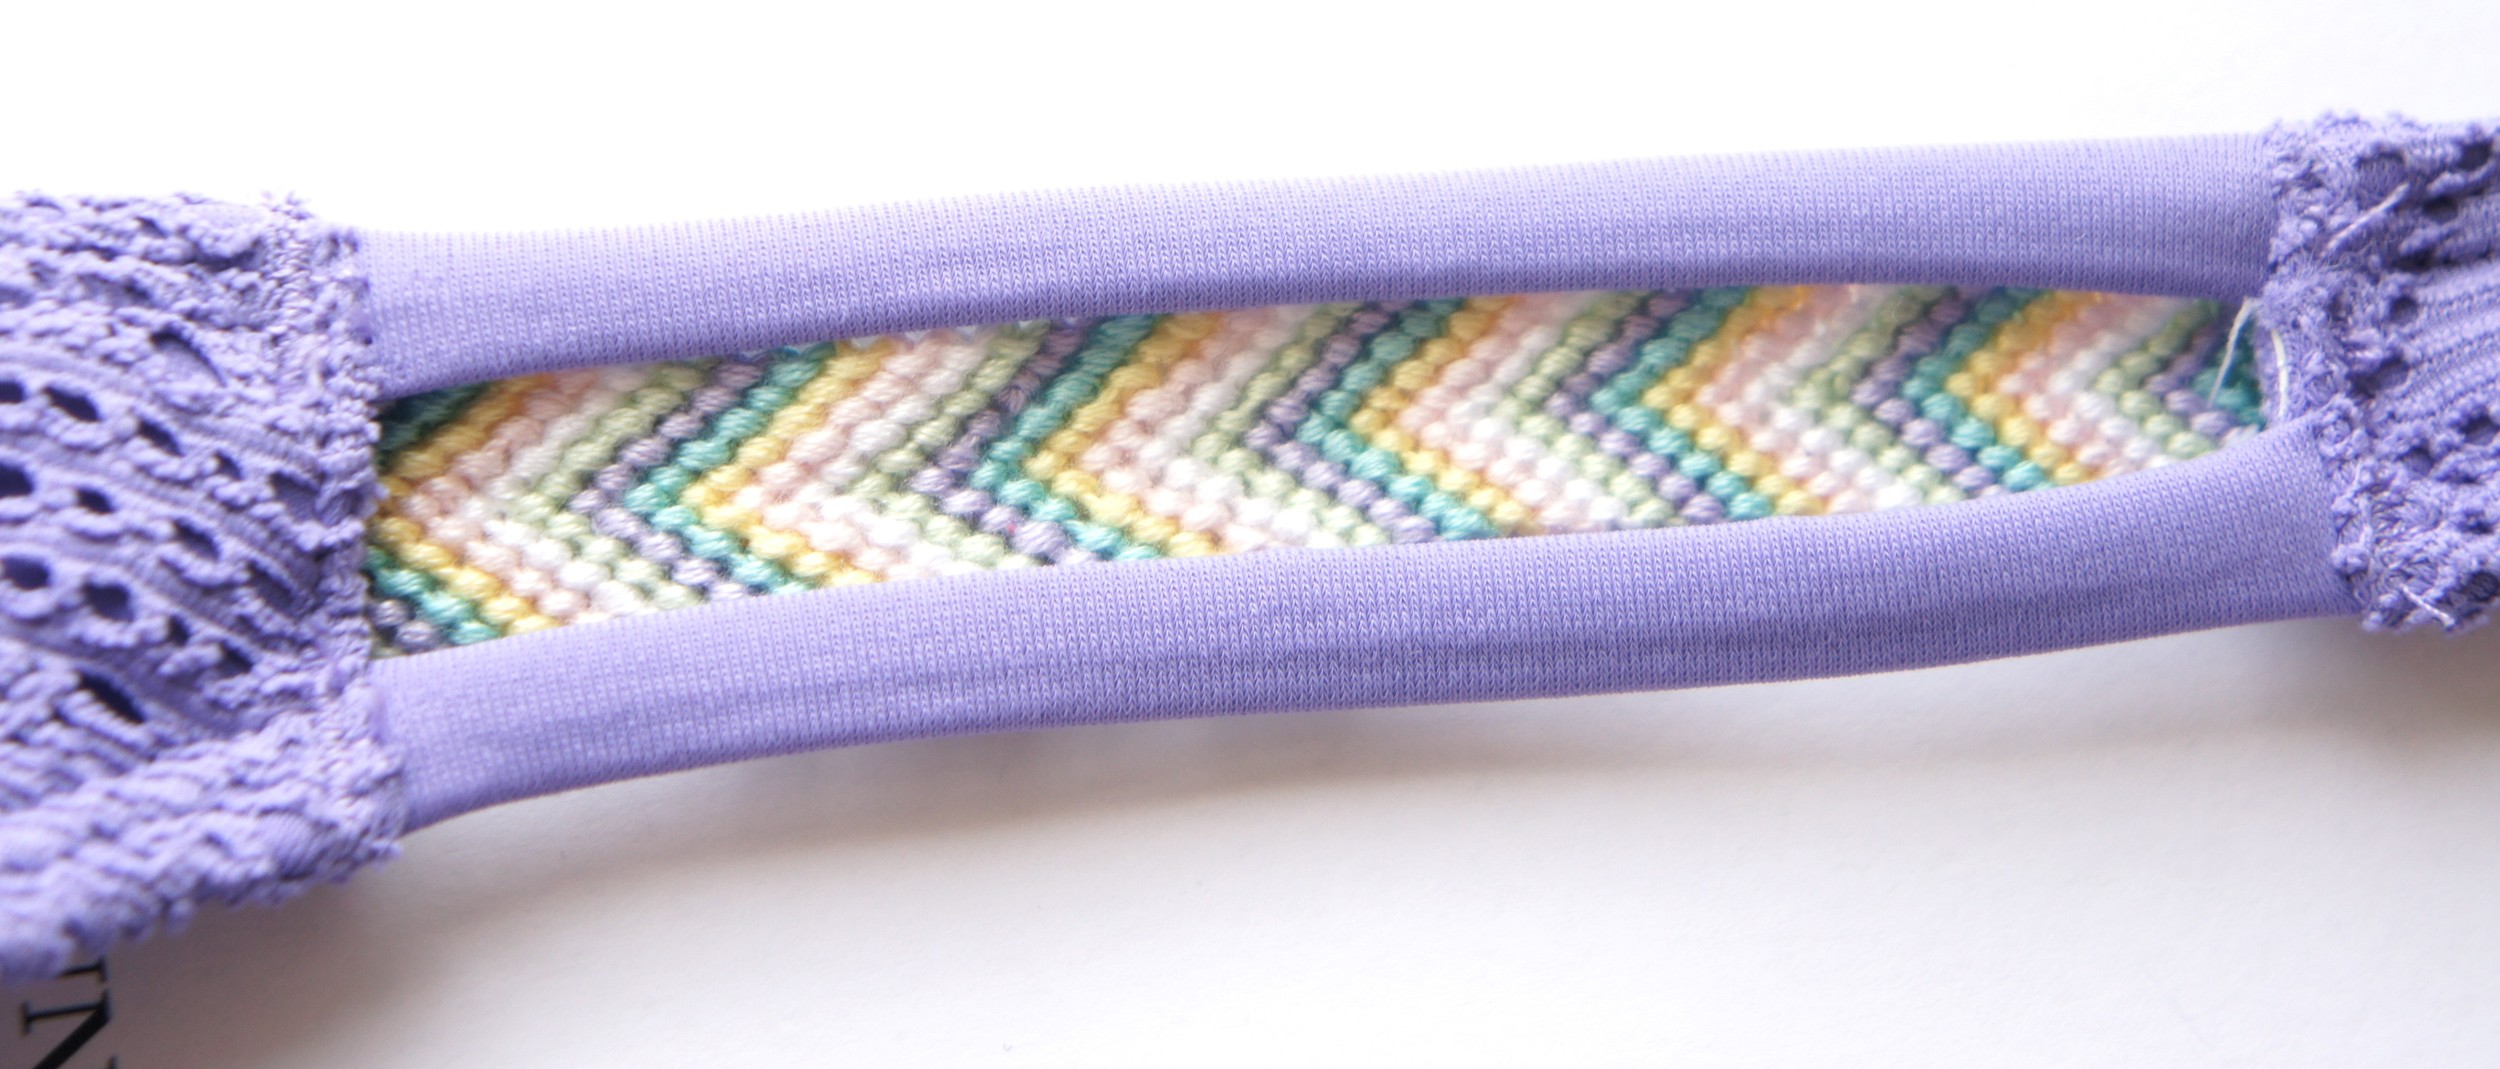
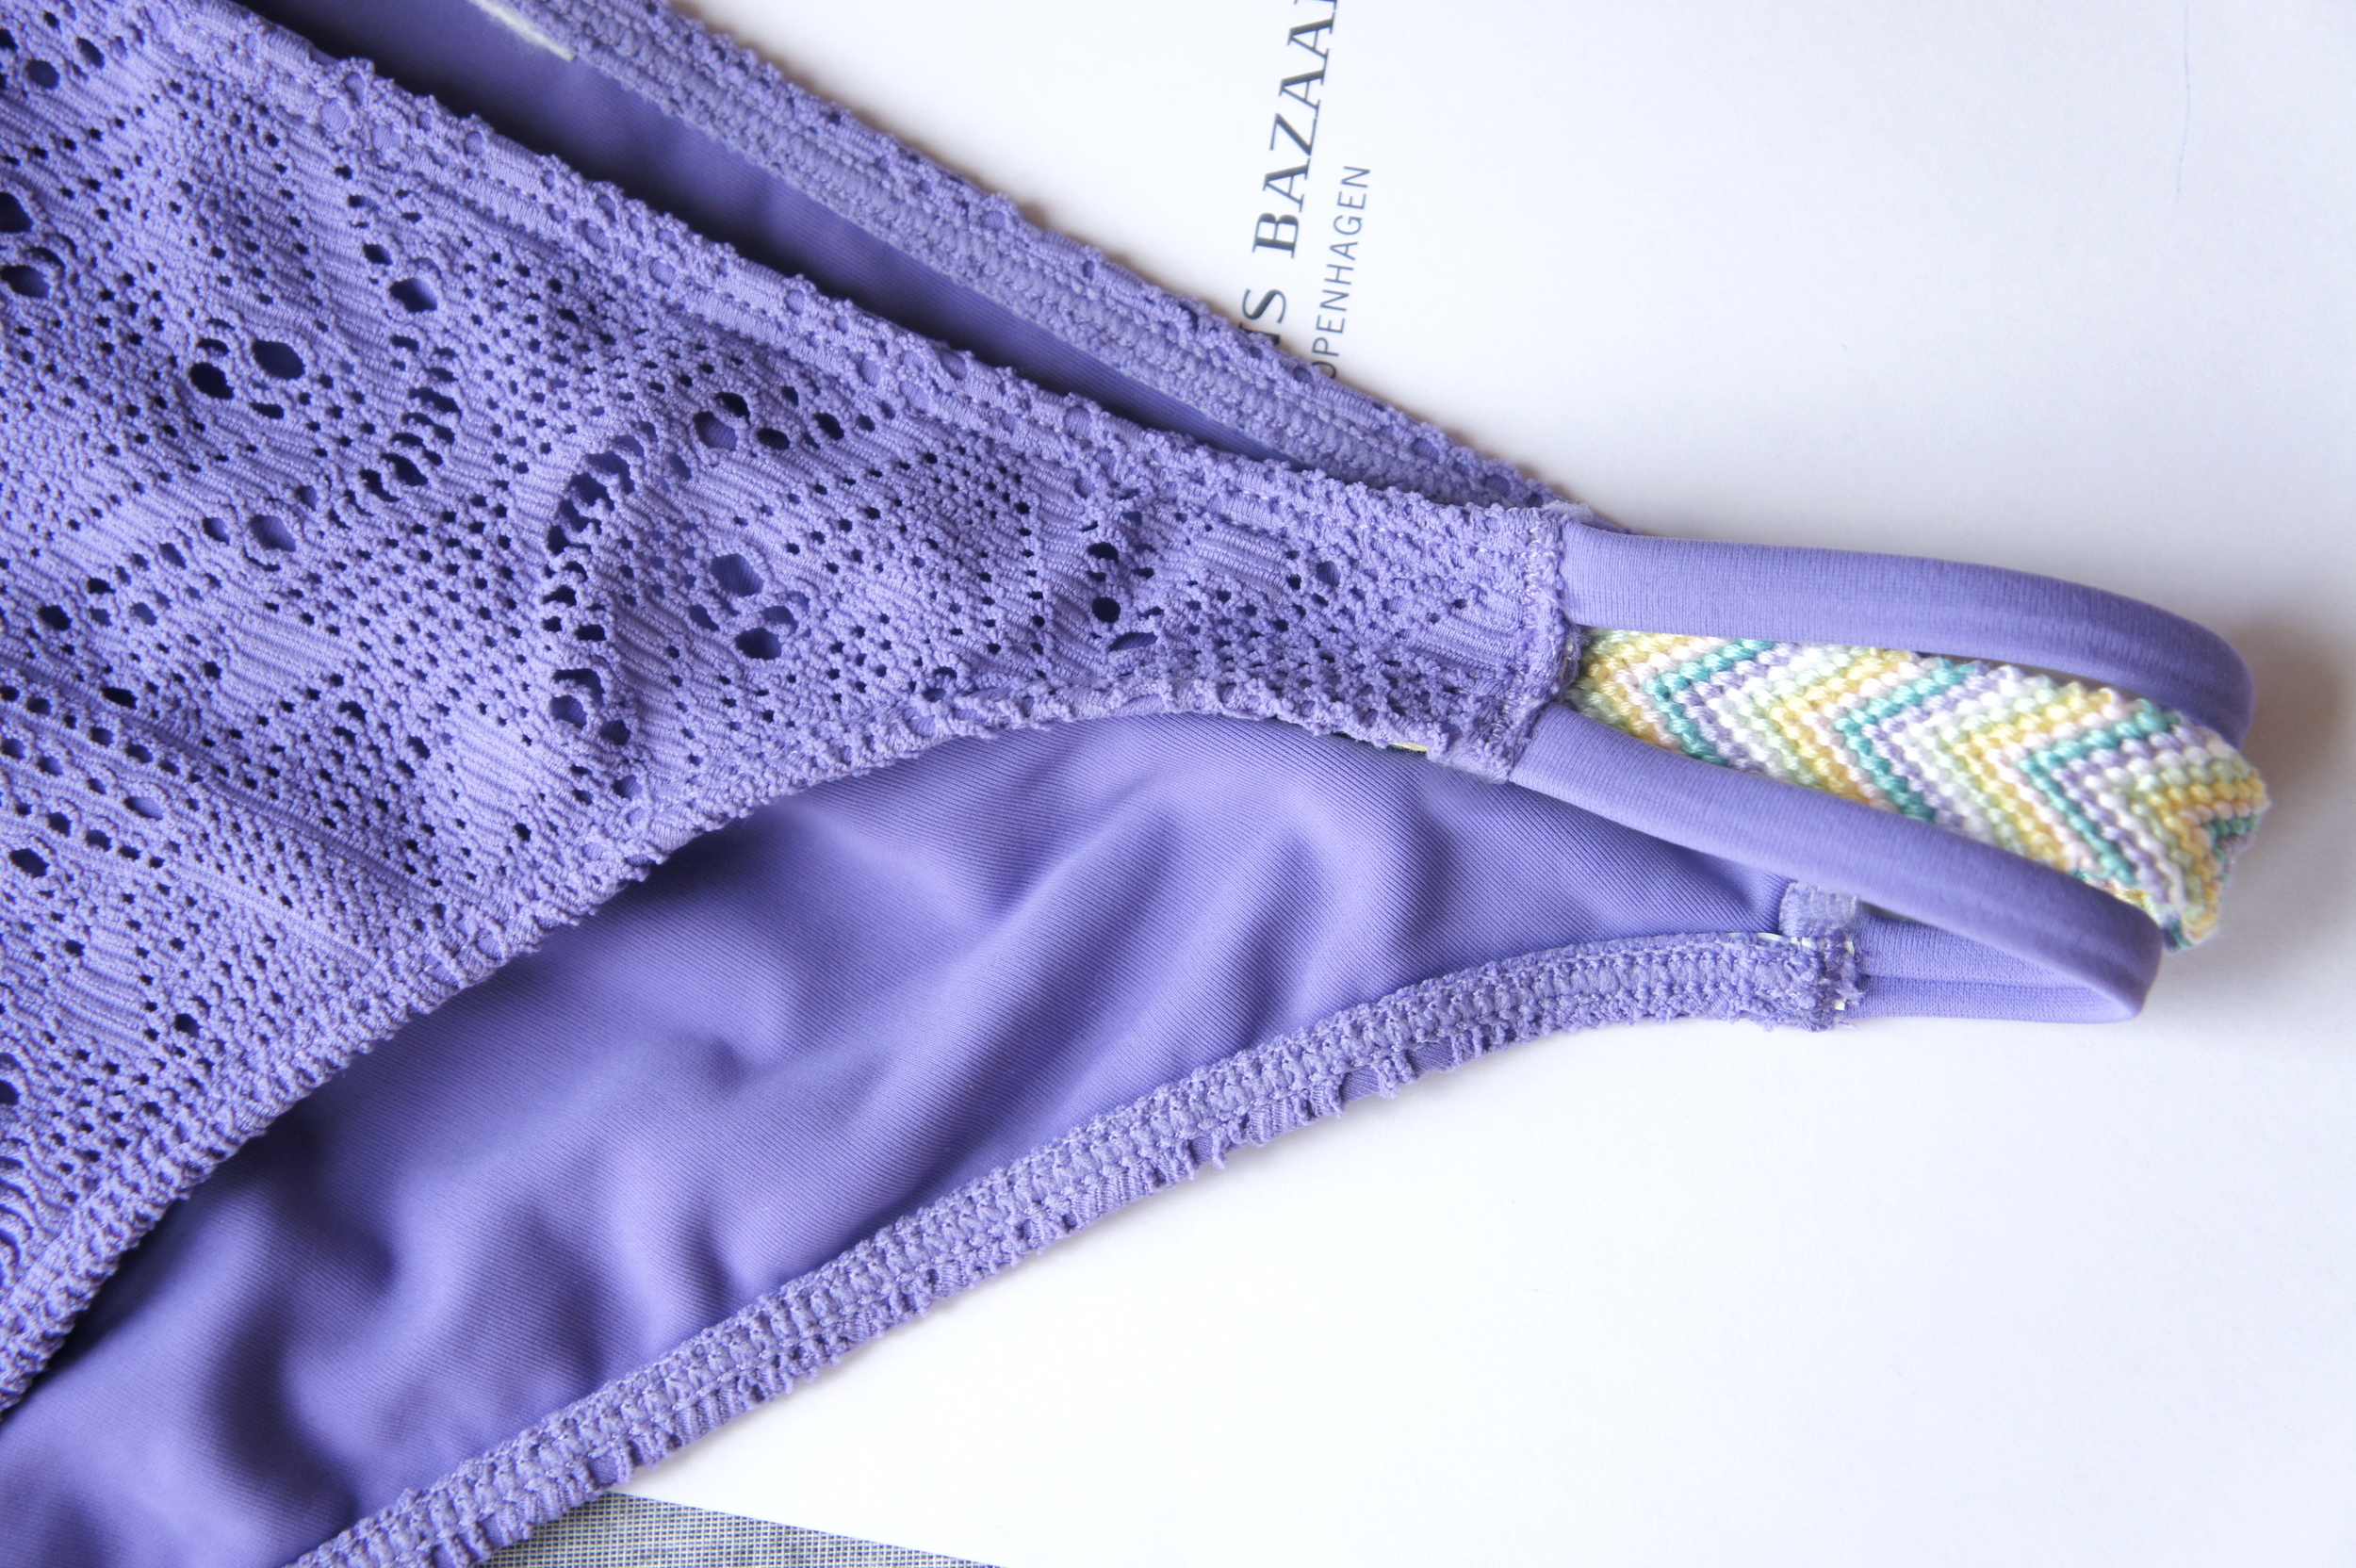
 A couple of weeks ago I decided it's time to learn how to make friendship bracelets. I kind of missed the boat when they were popular in the nineties; my neighbour was making them constantly and tried to teach me, but my seven-year old self just didn't get it :). But now, with a bit more DIY experience under my belt, it turns out that the technique really is as easy as everyone says it is and I will definitely be making lots more this summer. I also decided to replace one of the three side straps of my H&M crotchet-style bikini bottoms with the friendship bracelets. It's a relatively simple process, the only challenge is getting the length of the friendship bracelet right, because it has a different level of stretchiness than the bikini fabric. You can also use this idea to customise bikini bottoms with tie sides; just use more thread, do two bracelets per side and after a couple of inches of knotting, continue doing a regular braid until the sides are long enough to tie together.
Materials:
- embroidery thread
- superglue and scissors
- needle and thread
 Step 1: Cut off the side ties you want to replace.
Step 2: Measure how long the bracelet inserts have to be. It's best to do this while wearing the bikini because the knotted bracelets are relatively stiff and won't stretch out much.
Step 3+4: Now it's time to make the bracelets. Pick your colour scheme and start knotting :) If you don't know how to make friendship bracelets, click here for a good tutorial.
Step 5+6: Cut off the ends of the bracelets. Keep your finger on the edges to stop them from unraveling, and apply some superglue. Ideally, the superglue should be very liquid-y, so it can seep through the knots.
Step 7: Glue the ends of both bracelets and let them dry completely.
Step 8: Now, simply sew the ends of the bracelets into the inside of the bikini bottoms. Add a drop of superglue to fortify the stitch. And you're done!

