Quick Tip for Friendship Bracelet Lovers
 I learned how to make friendship bracelets this summer and I've been wearing this pastel coloured one ever since. But I know that once fall starts I'm not going to want to wear it every single day. The problem with friendship bracelets is that they have to be tied around the wrist, which is cool if they are used to symbolise everlasting friendship. But I think most of us aren't wearing them for their traditional meaning and would prefer to be able to put them on for one day like any other bracelet and then take them off. Untying the knot is such a hassle, it ruined my nail polish and part of the thread, so I really wanted to find a better solution. I found: cord ends! Just stick the ends of the bracelet (sans the braid) between some cord ends that are connected by regular chain and a lobster clasp, and wear your friendship bracelet (and take it off) whenever you feel like it. Here's a little tutorial:

Step 1: Cut off the braids on each side of the bracelet. Use superglue to seal the ends and stop them from unravelling. Let dry completely.
Step 2: Open the cord ends and add a tiny trop of superglue. Place one end of the bracelet between the sides of the cord ends and squeeze all four the sides together with some pliers.
In the end, the bracelet should look like this:
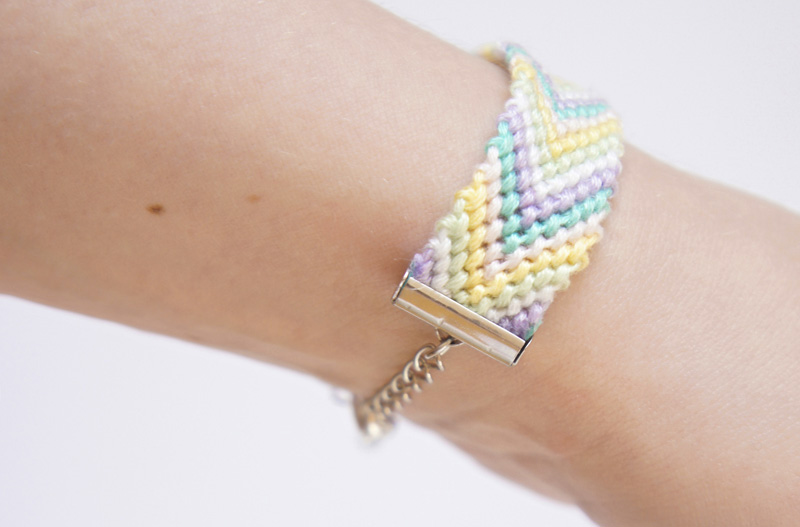
 And when you're wearing it, it should look like this:
 Click here to see another tutorial using friendship bracelets, DIY: Friendship Bracelet Bikini Ties.